Maker Faire 2010
Ah, Maker Faire. It’s part garage inventions, part Burning Man reruns, part techno-supermarket, and all awesome. Can it possibly be a year already since Maker Faire 2009, where BMOW was featured in Wired, Slashdot, Digg, etc. and I talked myself hoarse in a 48-hour marathon of CPU conversations?
This year I headed back to the Faire as a visitor rather than an exhibitor, so I’d actually have a chance to see the cool stuff I missed last time. The show has actually grown since last year, which I didn’t think was possible, but they annexed a neighboring county or something and added even more exhibits than before. This event is big, big, big. It’s almost too big. After a few hours my brain was fried, and I just couldn’t appreciate all the awesome stuff anymore. I think there were at least three different robot death-matches, ten 3D printers, and dozens of Arduino add-ons.
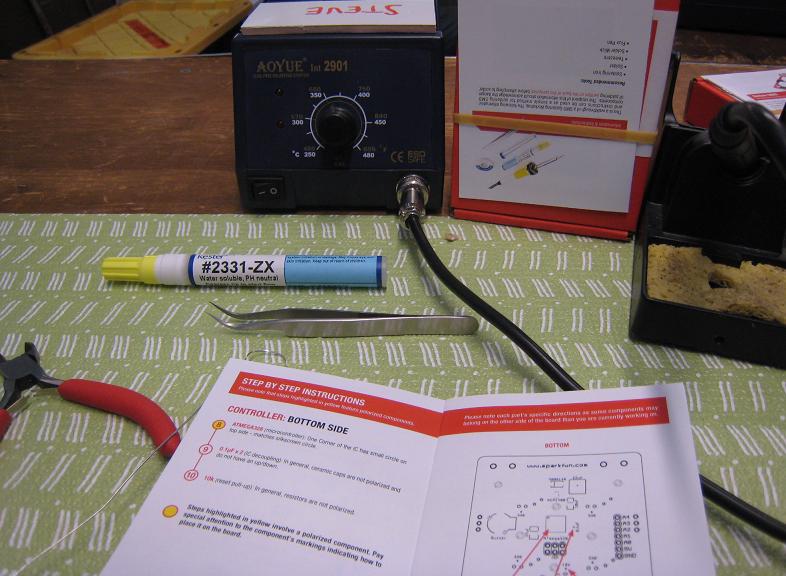
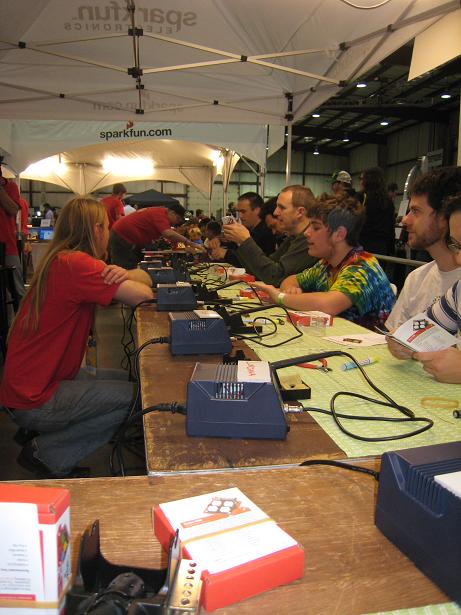
My major goal for the show was to do SparkFun’s SMD soldering class. I made a beeline to the SparkFun tent as soon as I arrived, and after a short wait, I sat down with eight other solder artists to construct SparkFun’s Simon kit. Here are a few pics of the setup:


After a short introduction, we jumped right in, and I soldered the first tiny IC without any problems (1 mm pin spacing). But at step two, a surface-mount capacitor, the wheels came off the cart. I just couldn’t get the cap to stick to the pad, after at least ten attempts, and eventually I overheated the cap to the point where it disintegrated. I sheepishly asked for a replacement, which took a while for them to find, and it took even longer for me to successfully solder it in place. Everyone else in the class was well ahead of me, and I was beginning to feel like a dummy.
After a few more steps, I soldered in the battery terminals, and was ready for the first major checkpoint: test for 5V. Unfortunately, this was when I discovered I’d soldered the battery terminals onto the wrong side of the board! One of the instructors took it to a rework station to fix it, which took a mysteriously long time, and when he came back I had a burned board with one trace lifted off the PCB. Argh. Eventually I was able to repair it with a jumper wire, and it passed the 5V test. But we were now an hour and a half into the class, and many of the other people were already done, just awaiting their turn to have the Atmega on their Simon board programmed.
I kept working, while the people on either side of me debugged their boards. After programming, one neighbor had a board where only two lights worked, and another had regressed and no longer passed the 5V test. While they debugged, I moved steadily forward, and eventually finished the assembly. At this point, both SparkFun’s main and backup Atmega programmers broke, and they were unable to program any more boards. Not a great ending to the class.
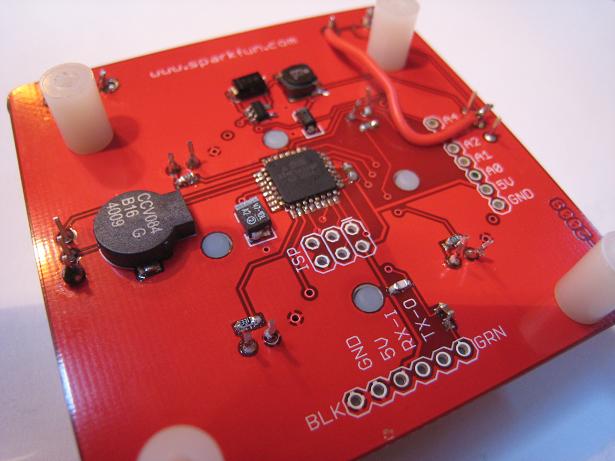
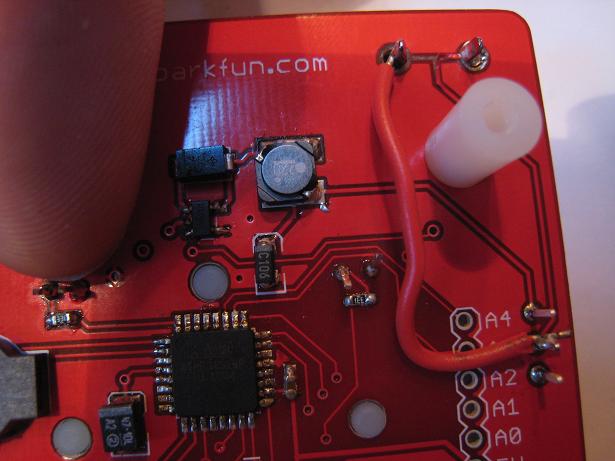
Ironically, the Atemga itself with its 0.65 mm pin spacing (I think) was actually pretty easy to solder. Just tack one corner, blob solder onto all the other pins while ignoring shorts, and then suck away the excess with solder wick. I’d say it’s the small size of the components that makes soldering them challenging, less so than the spacing of the pins. Take a look at these photos of my finished board. Some of those little surface mount passive elements are soldered in at awkward angles, but it’s the best I could do. Look at the size of my finger for reference. That tiny capacitor to the lower-right of the Atmega in the second photo is only about 1 mm long, and 0.5 mm wide… yikes! These parts make a grain of rice look giant. It’s tough to even see these things clearly. In the photo you get a pretty clear view, but with the naked eye that tiny cap is just an unidentifiable grayish speck, and whether it’s soldered properly is impossible to tell.


After the class, I wandered the Faire for most of the day, seeing lots of pretty cool stuff, but nothing that really stood out in my mind as exceptional. I enjoyed getting a chance to program an Altair 8800 using the front panel switches, but overall I think the show was just too much steam punk exploding fireball mechanical giraffe sensory overload.
As I prepared to leave at the end of the day, I stopped by the SparkFun booth once more, and they’d managed to get their Atmega programmer working again. I asked if they could program my board before I left, so I could attempt to debug the inevitable problems later at home. They did, but instead of a debugging puzzle, I got the happy “beep!” of a working Simon board. No debugging needed!
HUGE thanks to the SparkFun guys. The soldering class was great, and my instructors Matt and Matt were full of help and encouragement. The class itself was a fantastic bargain, since they only ask for a $20 donation, which goes to local science-related education projects. The Simon kit sells in the SparkFun store for $25, so this was like getting a $5 discount off the kit *and* free hands-on training. Can’t beat that!
Be the first to comment!No comments yet. Be the first.
Leave a reply. For customer support issues, please use the Customer Support link instead of writing comments.

